How to Split Notion Page into Columns
Notion is a powerful tool that allows you to organize your life and projects in various ways. One feature that can significantly improve your Notion experience is the ability to split pages into columns. This can make your Notion workspace more visually appealing and easier to navigate.
In this blog post, I’ll guide you through the process of dividing a Notion page into columns, making your pages more organized and efficient.
What is a Column in Notion?
A column in Notion is a vertical section of a page where you can place various types of content, such as text, tables, and images. Columns allow you to segregate information, making it easier to locate and read.
Creating Columns: The Basic Steps
Open Your Notion Page
Open the Notion page where you want to create columns. Make sure you have editing permissions for the page.
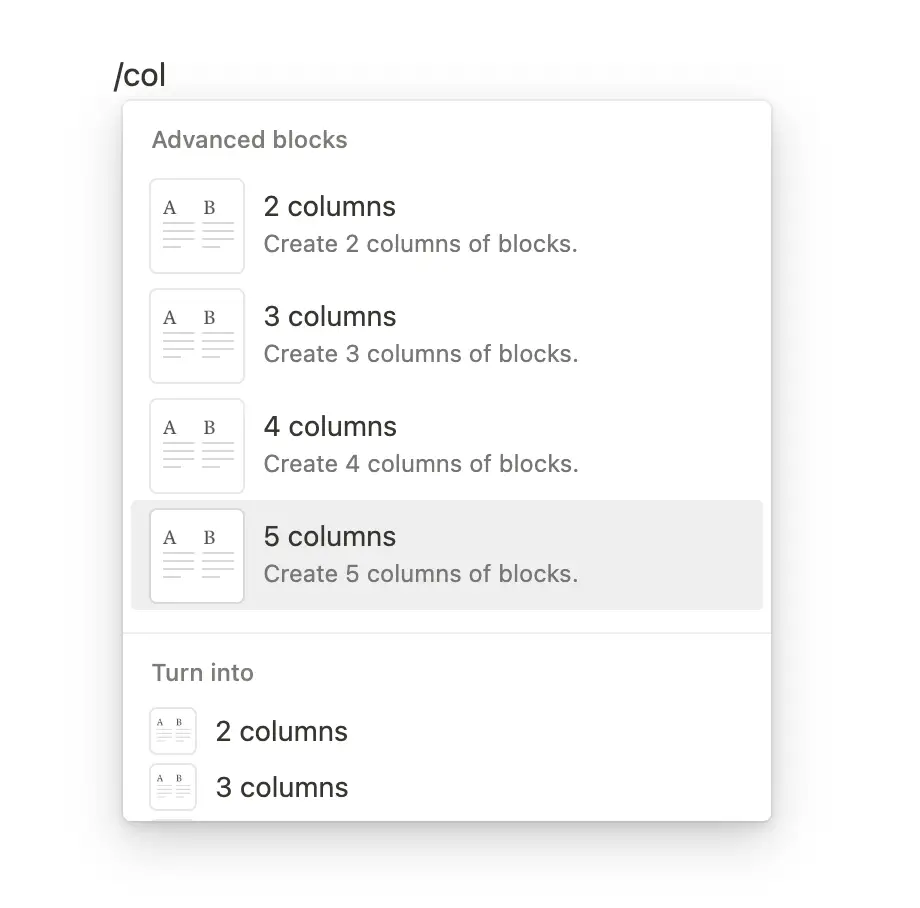
Add Column Block
Click anywhere on the page to add a new block. Type “/” and search for column. You can also use the + button.
Choose Column
Choose any column that matches your requirements.
Real-World Examples of Using Columns
Content Outline
If you are creating an outline for a blog post or presentation, you could use one column for the main points and another for sub-points or details.
Project Planning
In a project planning page, you could have one column for tasks, another for deadlines, and a third for assigned team members.
Visual Content
You can use columns to side-by-side compare images, videos, or any other visual content, making it easier to analyze.
Splitting a Notion page into columns is a simple yet powerful way to organize your content. Whether it’s for project planning, content creation, or just better visualization, columns can significantly enhance your Notion experience.