How to Install Signal on Ubuntu
The recent privacy policy changes to WhatsApp messenger insisted its users look into alternative messengers that respect users’ privacy more. And, Signal is considered as one of the most secure messenger apps out there. The happy news is Signal is also available on Ubuntu.
You can install Signal directly by opening your Ubuntu Software app and searching for Signal Desktop. But, the problem is the Signal version there is not the latest one. You can see some reviews regarding the updates there.
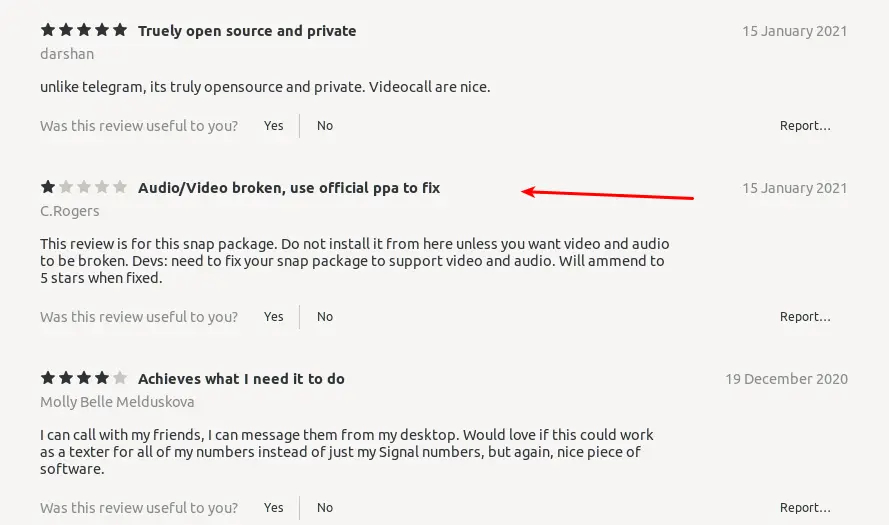
As said in the above review, it’s always better to use official PPA to get the latest updates.
Follow the steps given below to install Signal Desktop on your Ubuntu PC.
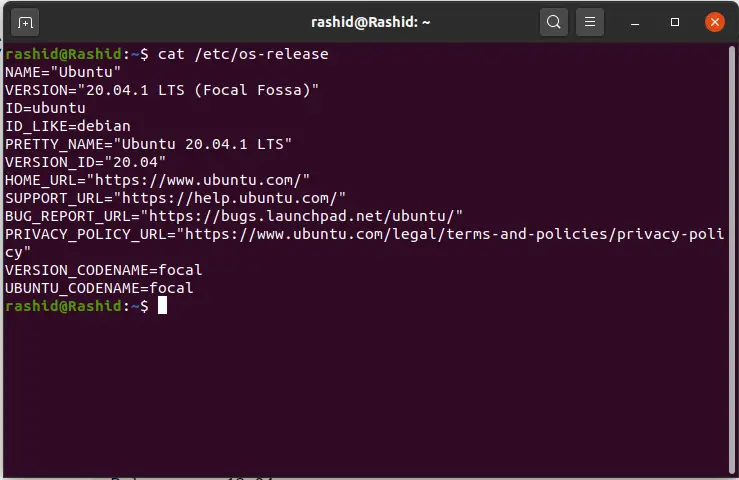
Open your terminal and execute the following commands. First of all, install Signal’s official public software signing key using the command given below.
wget -O- https://updates.signal.org/desktop/apt/keys.asc |\
  sudo apt-key add -
Next, add their repository to your list of repositories.
echo "deb [arch=amd64] https://updates.signal.org/desktop/apt xenial main" |\
  sudo tee -a /etc/apt/sources.list.d/signal-xenial.list
And finally, execute the following command.
sudo apt update && sudo apt install signal-desktopThat’s it, the Signal Desktop will be installed on your PC.
When you open Signal Desktop app for the first time you have to connect your Signal mobile app by following the instructions.

I hope this tutorial will be helpful for you.